
UPDATE 9/27/2016
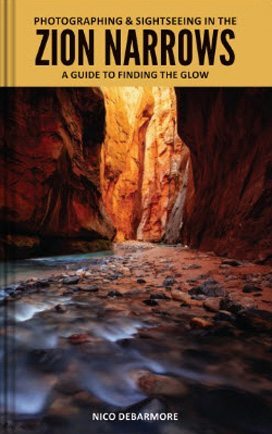
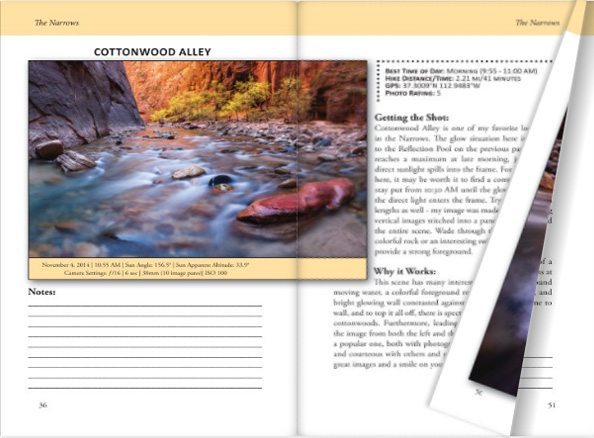
I don’t have any updates for Zion’s Fall Color this year, however, I strongly recommend purchasing my newly released book on the Zion Narrows, available HERE. This book is essential to maximizing your time in the Narrows – it pinpoints WHEN and WHERE the stunning orange “zion glow” occurs.
INTRODUCTION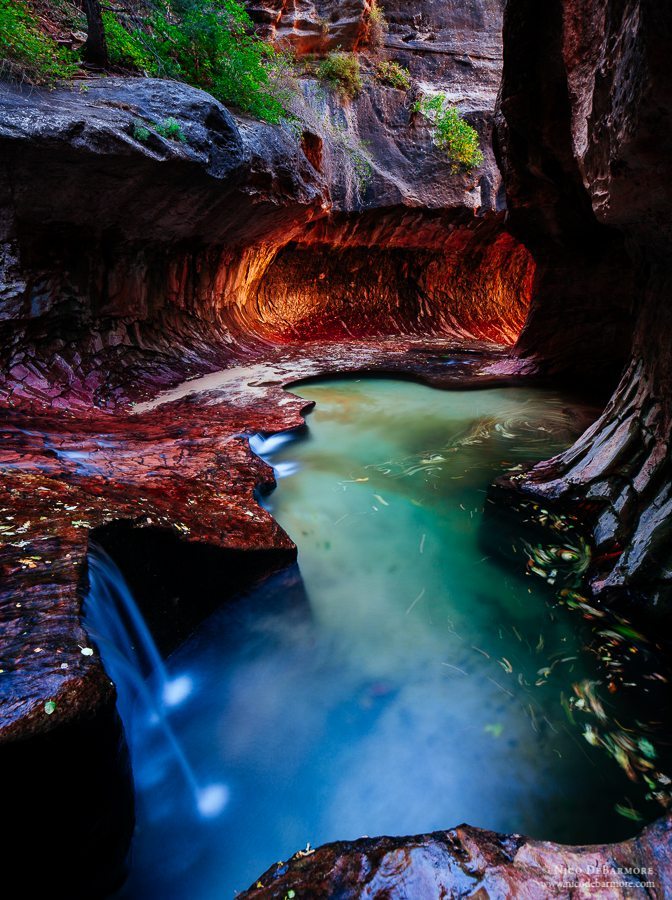
Zion National Park is simply amazing – for too many reasons to list here. One of the many incredible locations to see in Zion is the Subway – a rather short, somewhat remote section of canyon narrows with a very unique and distinctive appearance. As you might imagine, the narrows look like a subway tunnel cut through the sandstone. But you don’t have to rely on your imagination…just check out the image to the right (how could you not?!).
I recently visited the Subway on October 12, 2014. The real purpose of the trip was to celebrate Jhosmar’s birthday, but it would be tough to hike all the way to the Subway and not bring my camera. This lovely birthday hike doubled as a scouting trip for my Zion fall color proper trip coming in November. I was surprised to find quite a bit of fall color in the Left Fork North Creek canyon already.
A saving grace for the Subway is that despite being in a national park AND possessing a certain unique beauty, it is relatively difficult to access due to a combination of hiking distance, terrain, and permits.
In this Zion Subway photography guide I’ve put together some basic information about The Subway and the Left Fork North Creek area. This ought to help you out with planning and logistics, and prepare you for visiting a location you won’t soon forget.
LOGISTICS
While pre-trip planning and logistics is perhaps the least exciting part of a trip, it can also be critical when searching for excellent light and photographic situations. There are two routes to visit the Subway – the “top down” technical canyoneering route, and the “bottom up” riverbed hike route. In case you are curious the top down route has several pools that require swimming, obstacles, and necessary rappels. This post addresses only the bottom up approach, as it is more suitable to for someone bringing a serious camera kit and requires no special skills.
PERMITS
Most of the information I’m about to tell you for permits comes from this page, which is where you need to go if you actually intend to get a permit online. There are three types of permits:
Lottery: For trip dates between April and October, apply for the advance lottery 3 months before the trip date. The lottery runs on the 5th of the following month.
Reservations: If spaces are left after the lottery, they are available as advance reservations. These can be reserved for the three months before the trip date. I like that they allow you to see how many people have taken a permit for a given day, which in turn might allow you to choose a less crowded day.
Last Minute Drawing: If your trip is coming up sooner than later, or you are a procrastinator, you might still be able to get a permit. After the reservable slots have been filled, the last minute drawing applications are still available between 2-7 days before the trip date, and the drawing is 2 days prior to the requested date.
Bonus! – Walk-ins: If there are still permits available after the last minute drawing you can purchase a permit as a walk-in.
*Cost: $10 for 1-2 people, $15 for 3-7 people, $20 8-12 people. Application fees are $5.00.
For fall color trips to Zion I prefer to wait to the last minute to reserve my permit. It’s November, and park visitation is decreasing every day. There are so many factors – primarily weather and leaf color – that affect my final decision on which date to go, that I would prefer not to lock in a date and pay $15 in fees between permit and application. Also, if you are going solo, you may be able to pick-up that last slot that didn’t fit in with any of the groups. On my recent 12 October trip we were lucky – there were at least two cancellations for that day. I woke up to get in line for the wilderness desk 30 minutes before they opened, nabbed our permits for that same day, and then headed out to make the drive to this separate area of Zion National Park.
TRAILHEAD
You need to drive to the Left Fork Trailhead on Kolob Terrance Rd. to start this trek. It is fairly simple to reach – from the South Campground, drive out of the park on UT-9. In the small town of Virgin, turn right on Kolob Terrace Rd. The gravel parking lot and trailhead is about 8.2 mi down Kolob Terrace Rd, and is adequately signed. There is a vault bathroom available, and some trashcans for your rubbish.
THE HIKE
Now that we have that logistics stuff out of the way, we can start talking about the actual hike. There are three usual “locations of interest” on this hike, and they are all close together and all in the final ½ mile. They are Arch Angel Falls, The Crack, and The Subway. I’ll talk about each of these places individually, but first I will address timing.
TIMING
We left the trailhead at about 10:30 AM and reached the first location of interest, Arch Angel Falls, at 1:00 PM. By this time harsh, direct sunlight was dappling the cascades, so I didn’t take any photographs. Last year I made it to Arch Angel Falls by 9 AM with a 1.5 hour hike. The light was much more suitable. The important takeaway here is that if you are a strong, confident hiker it will still take you at least 1.5 hours to reach this area of interest. Start adding time to 2 or 3 hours if you don’t hike at supersonic speeds. Know that the later you sleep, the more likely the sun will get onto Arch Angel Falls and ruin your chances of that stellar image. I suggest leaving the trailhead at 8 AM regardless of your hiking ability.
The other aspect of timing is day of the week, and time of year. If you go on a weekend, this area will be more crowded – 80 permits are available per day. If you go during peak season, which is July-September, this area will be more crowded AND acquiring your permit is much more difficult. That’s okay though, because the best times to go are in autumn and in spring. Early November sees a sharp decrease in visitors, air temperatures are still hovering around 75 °F, and the fall color is in full swing which really adds a punch to the scenes and the hike in general. Springtime – think April/May – is the time of snowmelt and runoff, which makes for high water flows which render these places distinctly different from their fall conditions. If you are curious about flows you can look them up here. The flow during my trip in October was about 39 ft³/s, which is close to average for this time of year.
GEAR
Let’s talk about what gear is necessary for this trek.
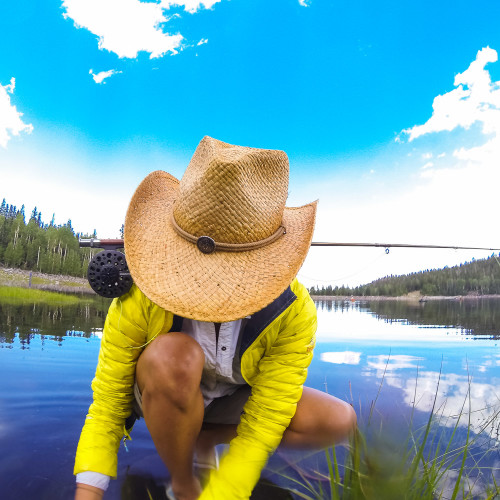
As far as hiking goes, I recommend bringing a hiking poles, water or a filtration device, and a headlamp. Bring something windproof too, because the winds can get moving through those narrows and its all shaded in there. If you are in winter or a shoulder season, it is nice to stay completely dry. I usually hike it in the breathable chest waders that I use for fly fishing. Not having cold feet is a big deal. Alternatively, you can rent wetsuits or drysuit pants from any of the outfitters in Springdale.
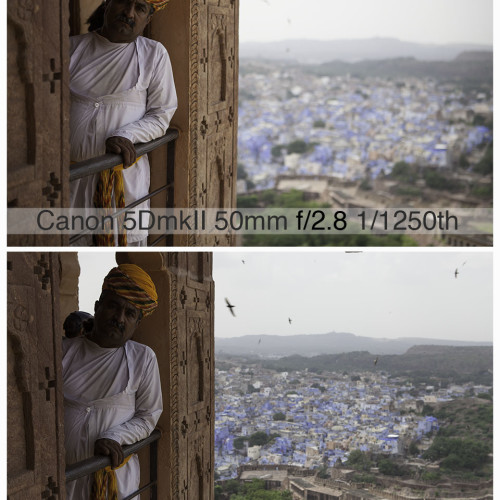
Okay – photography gear. Must haves would be tripod, polarizer, and shutter release. A wide angle (think 17mm full frame) is very useful to capture all the elements in the Subway. The image you see at the top of this article is actually three exposures shot with a 24mm tilt shift lens and stitched together in post. The shift feature on that lens makes it easy. For the Crack you will likely want anywhere from 24mm to 50mm. Similar thing for Arch Angel Falls. Leave your telephoto at home. Leave your grad-NDs at home. Bring a solid-ND if you like super long exposures, but know that in the Subway proper you can easily get 10 second exposures @ f/14 with a only a polarizer. Ten seconds is plenty for me.
BY THE NUMBERS
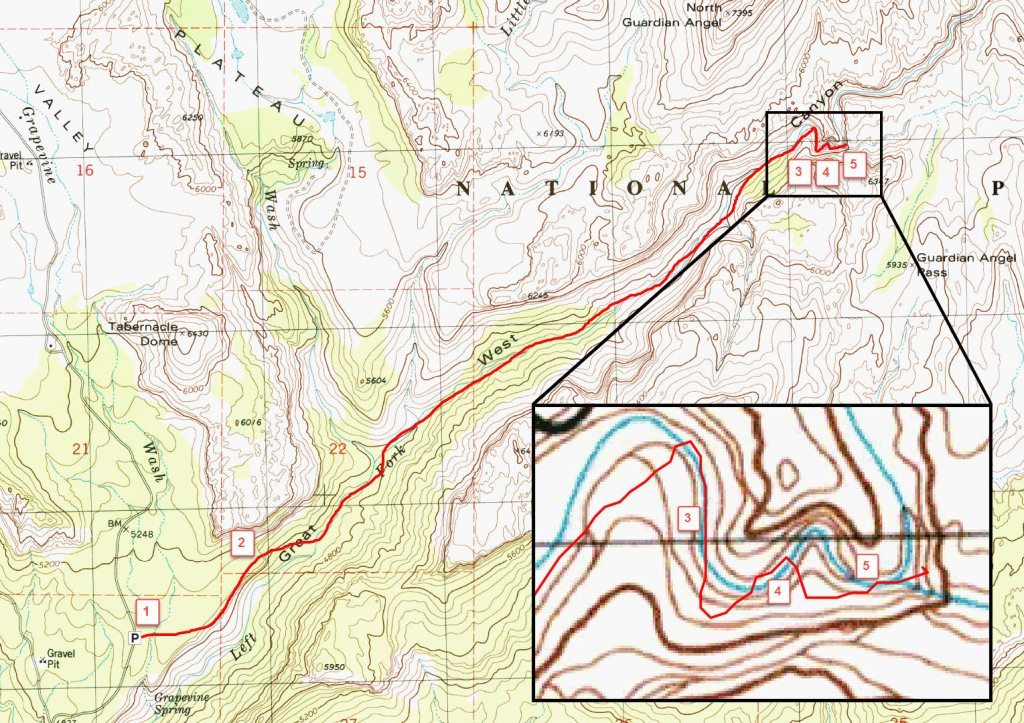
Here is a map of the hike and the elevation profile from Caltopo.com. You can click both to pull up a more larger version. I’ve put in a pretty rough track on the map and pulled some information for you. These stats are one way. Distance is 3.5 miles. Gross elevation gain is ~2000 ft. Gross elevation loss is ~1500 ft. The trailhead is at about 5,000 ft. and your destination is at roughly 5,500 ft. To give you a comparison, the floor of Zion Canyon is about 4,100 ft and the Zion Narrows are at close to 4,400 ft. This means the Subway is about 1,000 ft higher than Zion Canyon and will likely have peak fall color slightly earlier. In this next bit I’ll break down each important location on this trek. Use the numbered map as a reference.
![]()
1. Trailhead: I already wrote about the trailhead. Here
2. Steep Descent/Ascent ~0.5 mi: The first half mile is relatively flat hiking, and brings you from the trailhead to the Great West Canyon. You break out of the brush and see the view, and think that’s beautiful! How are we going to get down there? The trail now gets very steep and you drop about 400 ft in 0.1 mile. 0.1 mile is 528 feet. That means the grade is close to 50%! So its steep, so bring your hiking poles, watch your step, and save some energy for the hike back because you’re going to have to huck it back up the side of the canyon when the day is done!
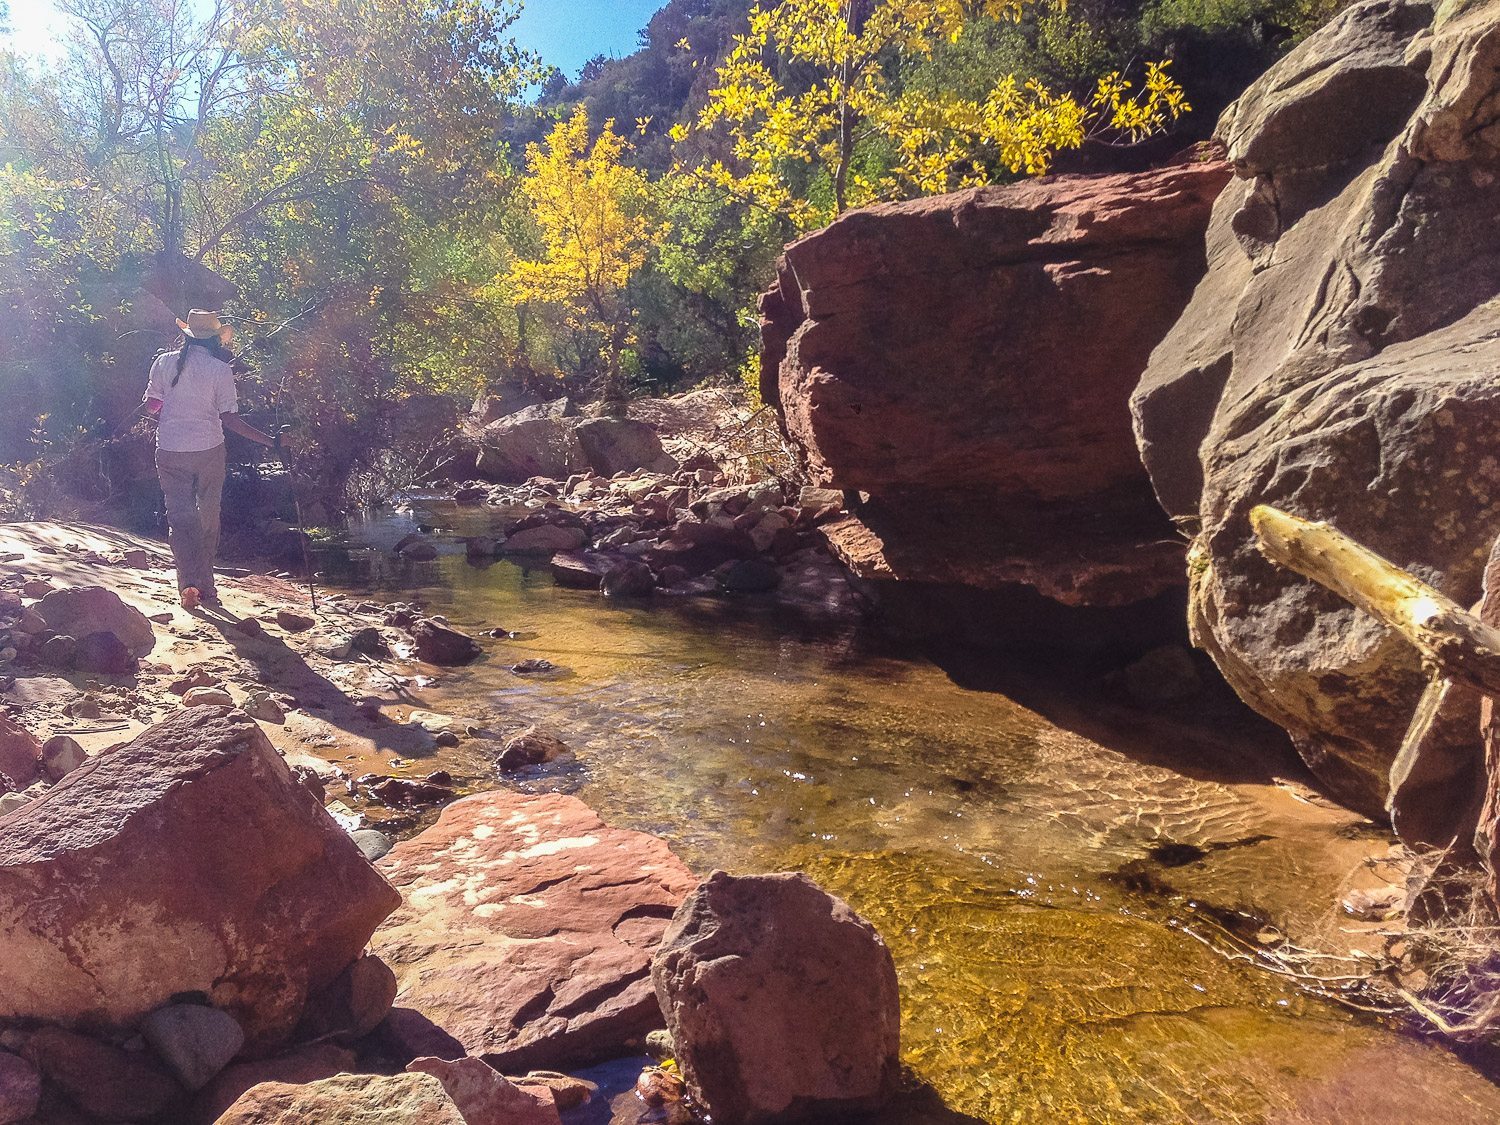
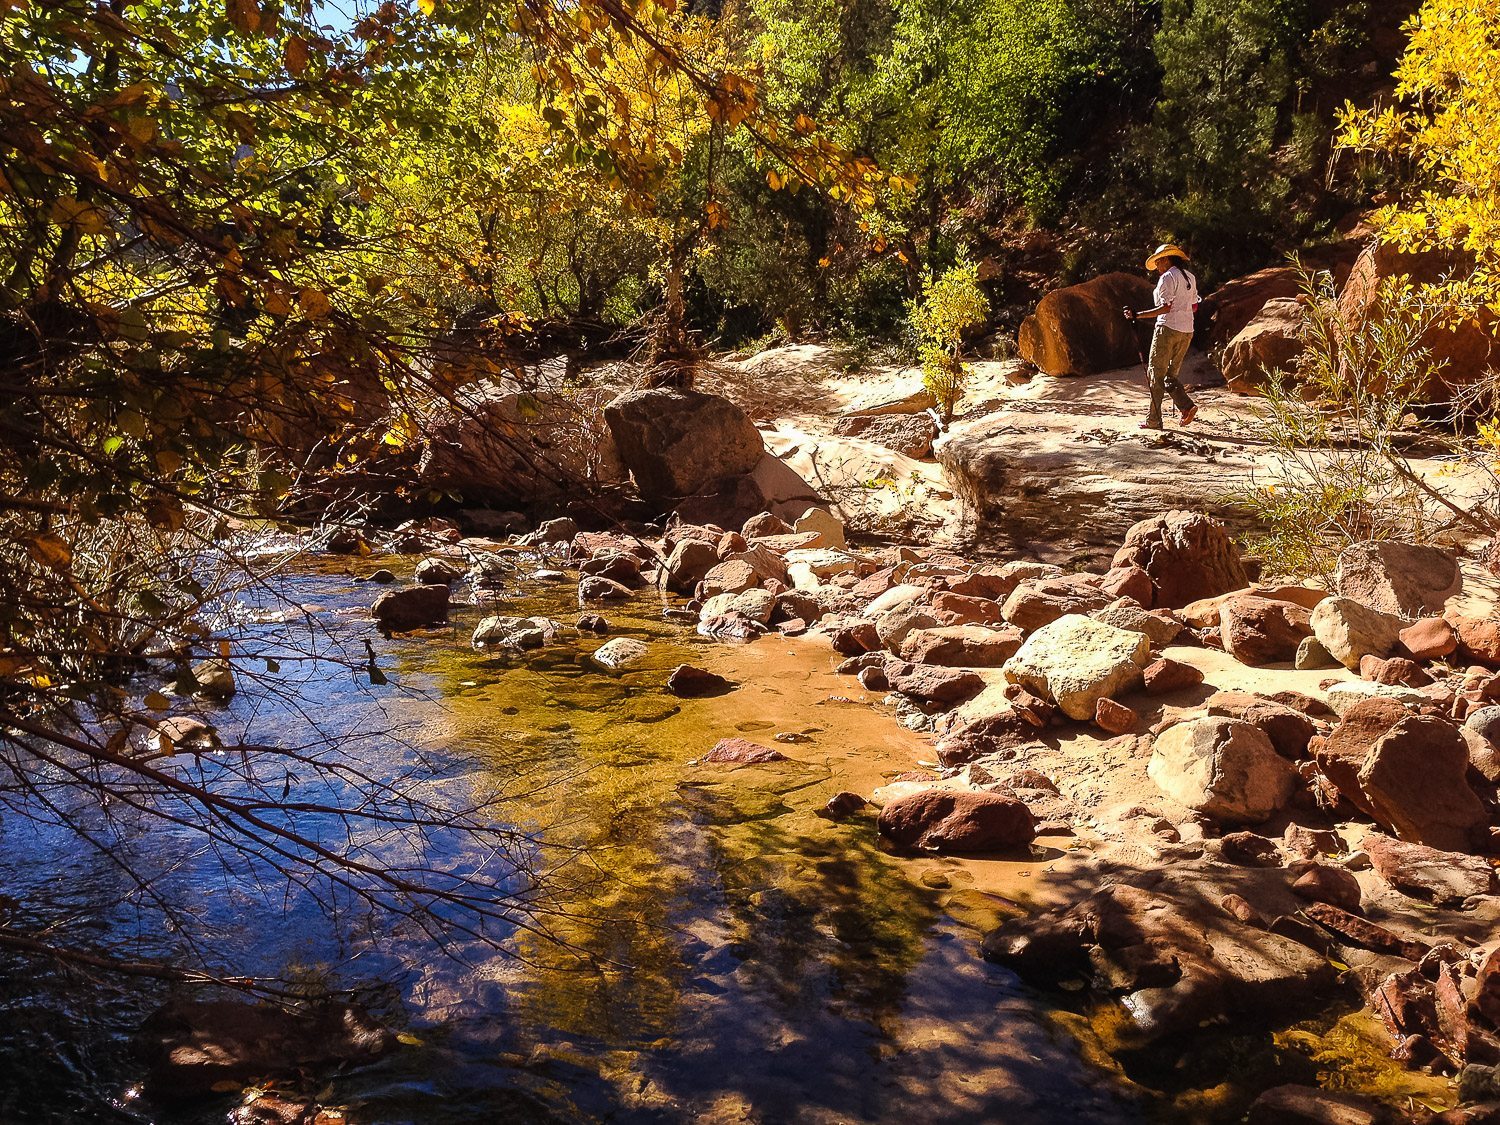
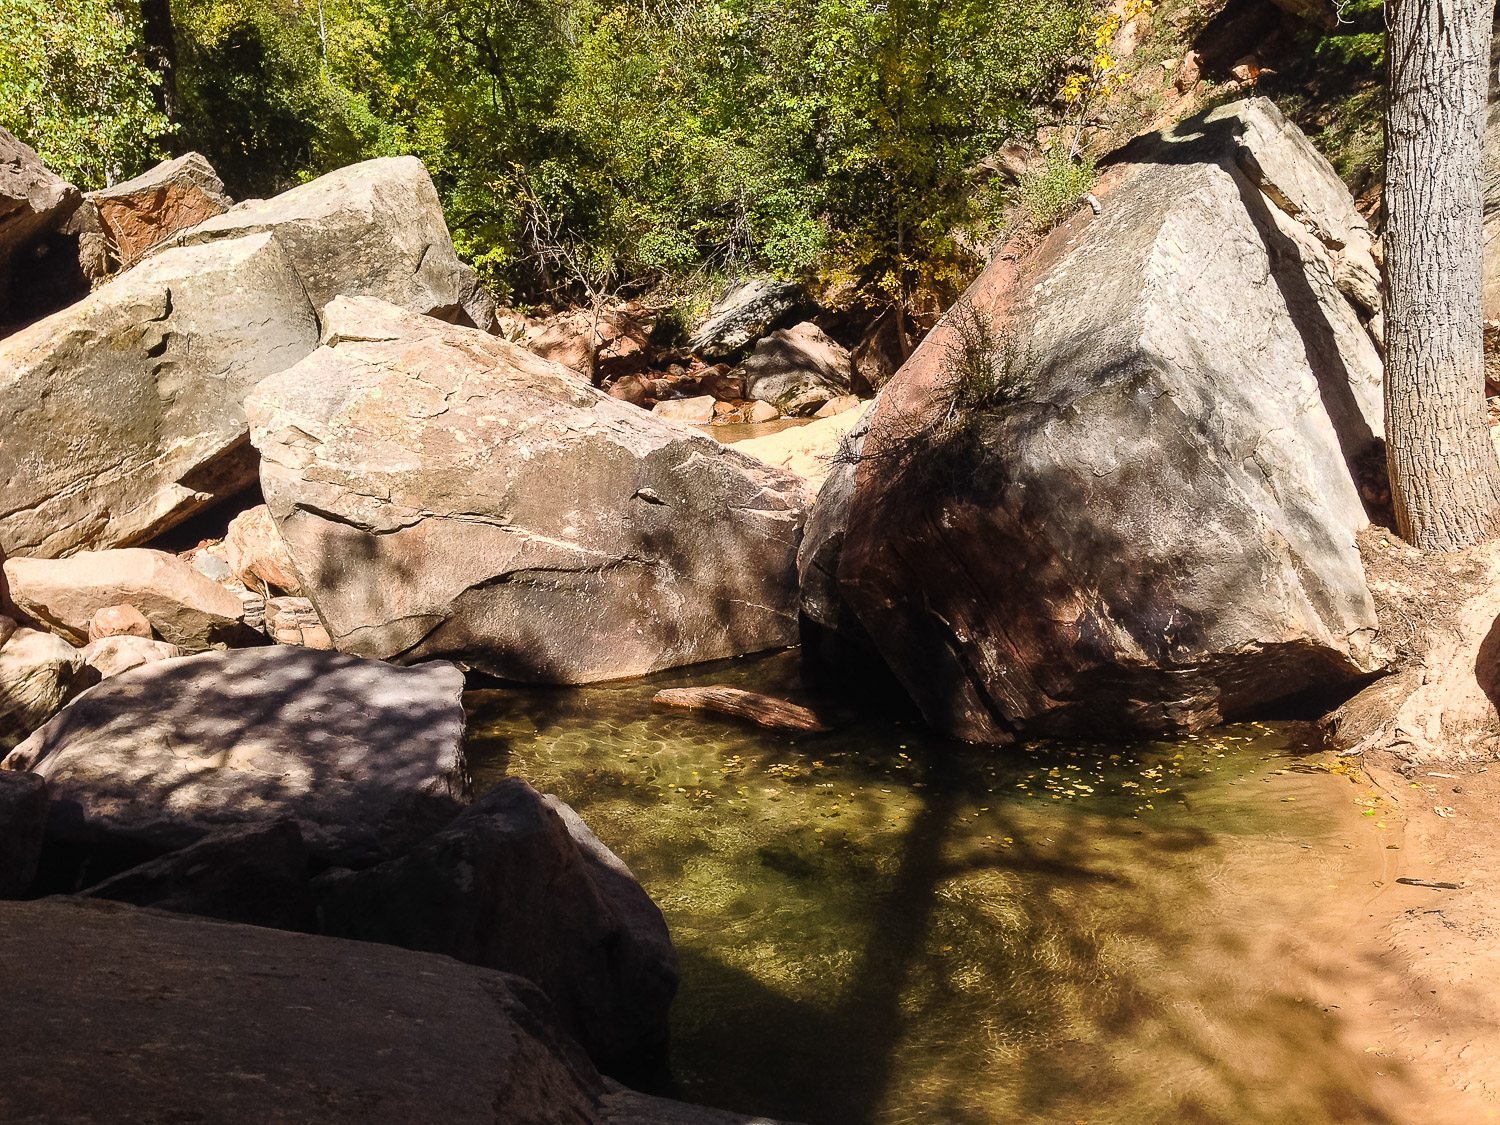
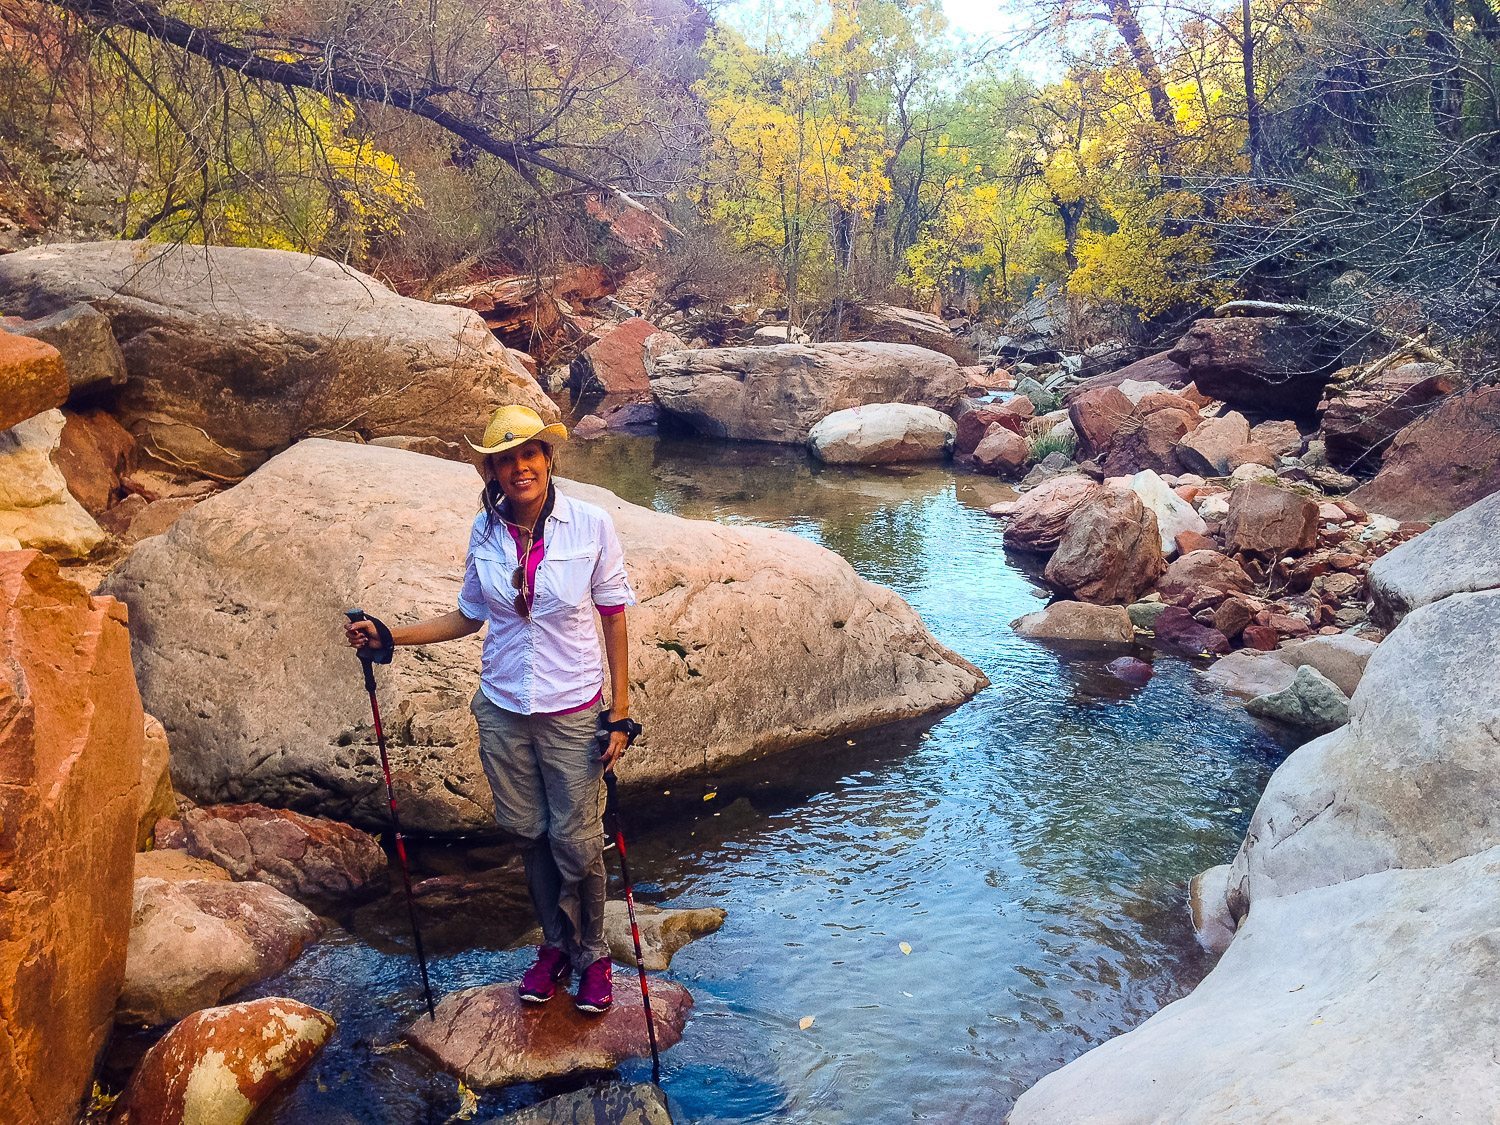
2 ½. Hiking the River ~3 mi: The hike along the river is a bit of a slog. Whereas in the Zion Narrows you are moving up-river with relatively little debris, Left Fork North Creek is a veritable obstacle course. In the beginning most people try to keep their feet dry, but if you abandon that silly aspiration and get comfy moving through the pools, you’ll make much quicker time. Your feet are going to be in the water eventually. The trail winds through the canyon, changing sides on a whim, having you jump or climb boulders and duck under trees. The canyon is pretty, but not really in a photogenic way. As you progress along the river the walls come closer and closer until POOF! you’re at the Subway. Here are some general images of the hike and the creek. Be kind…they were taken on my iPhone…
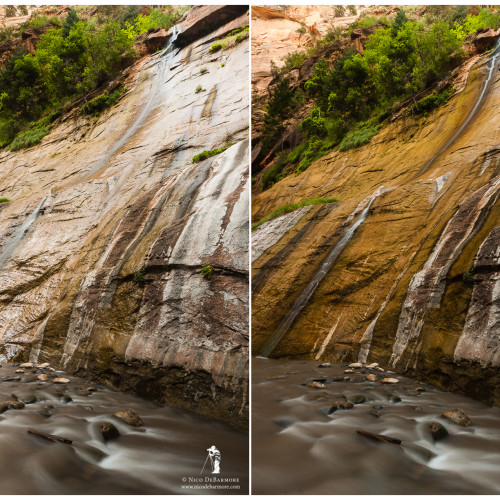
3. Arch Angel Falls ~ 3.25 mi: Finally, about 3 ¼ miles into the hike, and most likely a couple hours, you reach the first really photogenic gem of the Left Fork North Creek. Arch Angel Falls is a series of shelf-like sandstone cascades. By the time you reach this location you will have noticed how the rock around you has grown to a deeper and deeper shade of red. The character of this scene changes a lot depending on the amount of water flow. Either way, you should be able to find some pleasing compositions – it’s a really cool place! Here’s a pic from my phone on this last trip (39 ft³/s flow) compared to a photo from my camera last year (89 ft³/s).
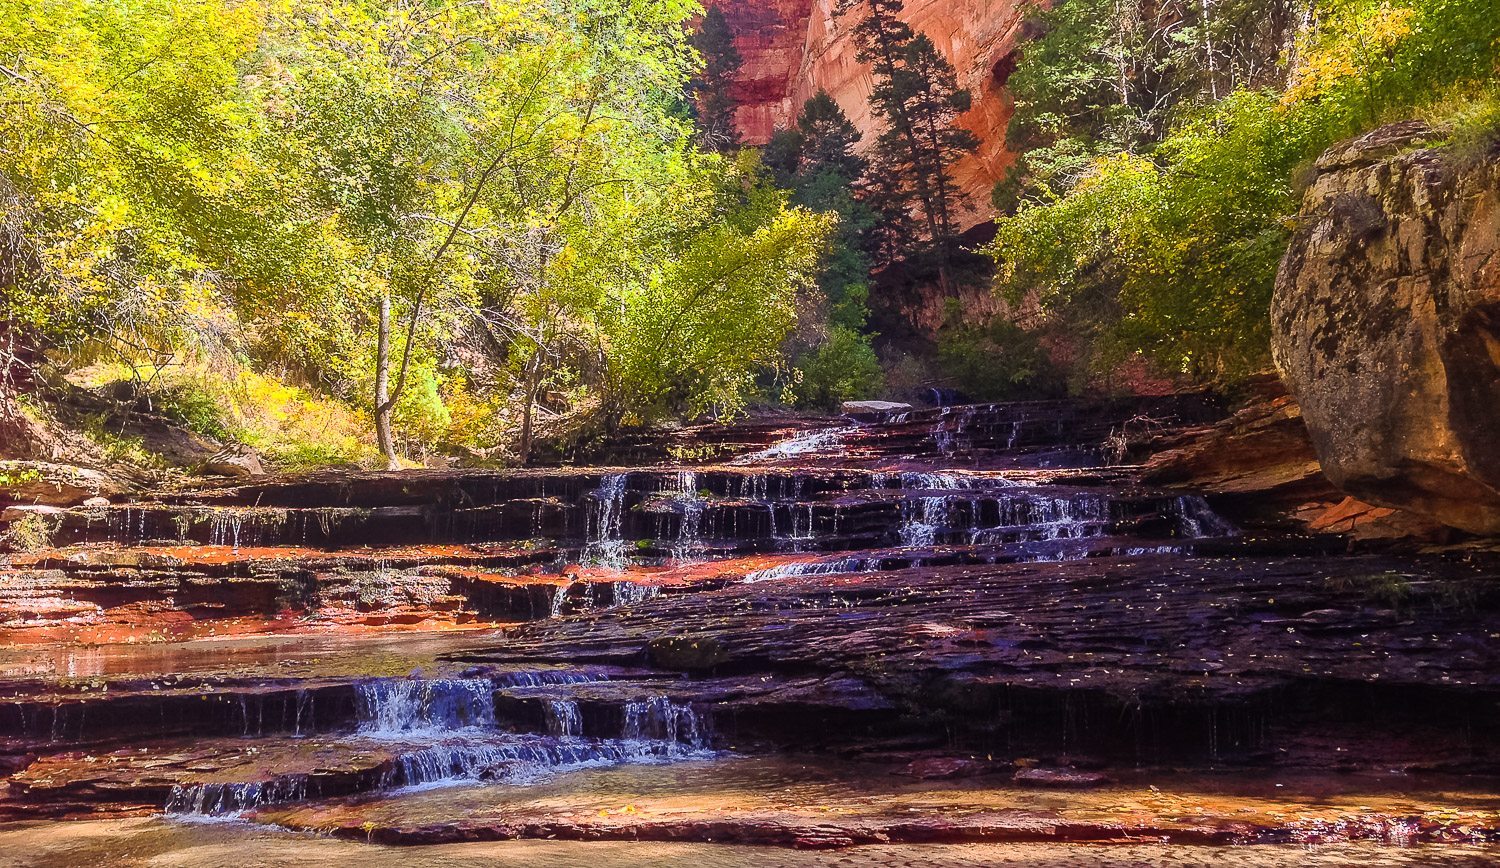
The above photo was taken at about 1:00 PM – sun was already on the cascades, and I don’t like direct sunlight in my moving water images.
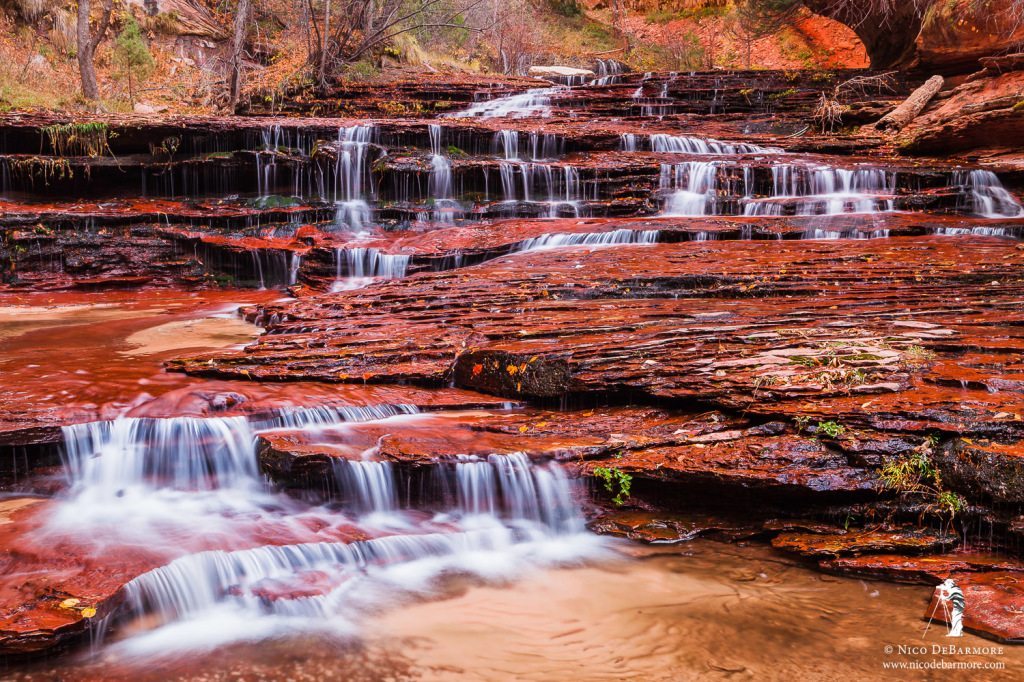
Here is a similar composition from last year, taken closer to 9:00 AM. The flow actually looks fairly similar to the image above. I would like to visit this location during high flow in spring.
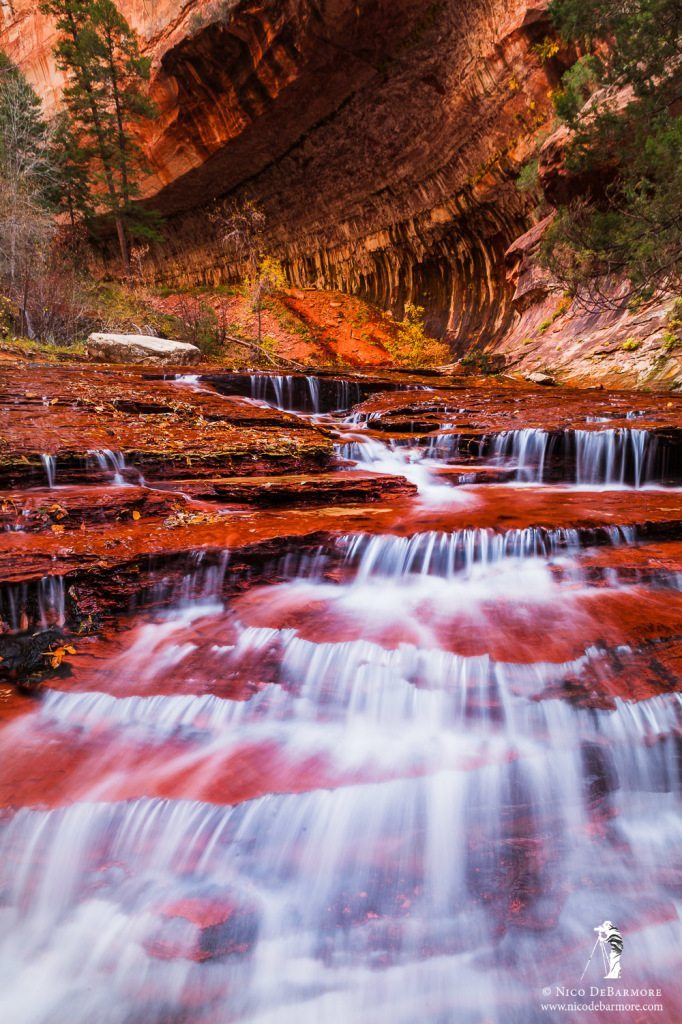
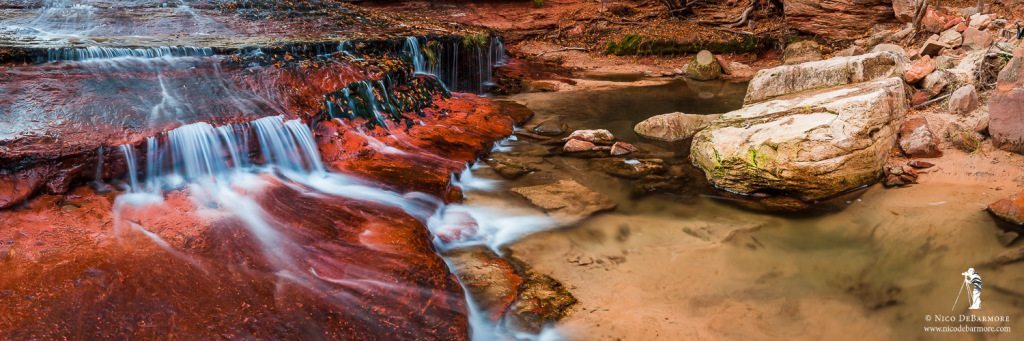
4. The Crack ~3.3 mi: Above Arch Angel Falls are two more unnamed falls that lie sort of below a massive undercut in the canyon wall. The river is really meandering at this point, and you are zig-zagging your way to the final destination of the subway. The first cascade is such that you can hike up the side, but the second requires some scrambling on a makeshift trail in the dirt. After the second falls is are really big, flat, and sometimes slipper red sandstone area. This is the location of a feature well known as “The Crack” or sometimes as “The Chute.” I think it’s really fascinating – I’ve never seen anything quite like it. On my first hike to the Subway I photographed the Crack at 10:00 AM. I found that the glare on the rocks was insurmountable. Surprisingly, waiting until 2:00 PM or even later allows for better conditions at the Crack. The light is such that the polarizer is able to cut the glare and really bring out the red in the sandstone.

Here’s the first cascade after Arch Angel Falls. This spot would be much much more interesting with more water flow.
And the photo above the the second cascade after Arch Angel Falls. Also, more water would give some much needed drama here.
There are many abstract scenes of the crack, showing only the water and sandstone without the context of the surroundings. I think the photo above gives a great sense of scale for the Crack.
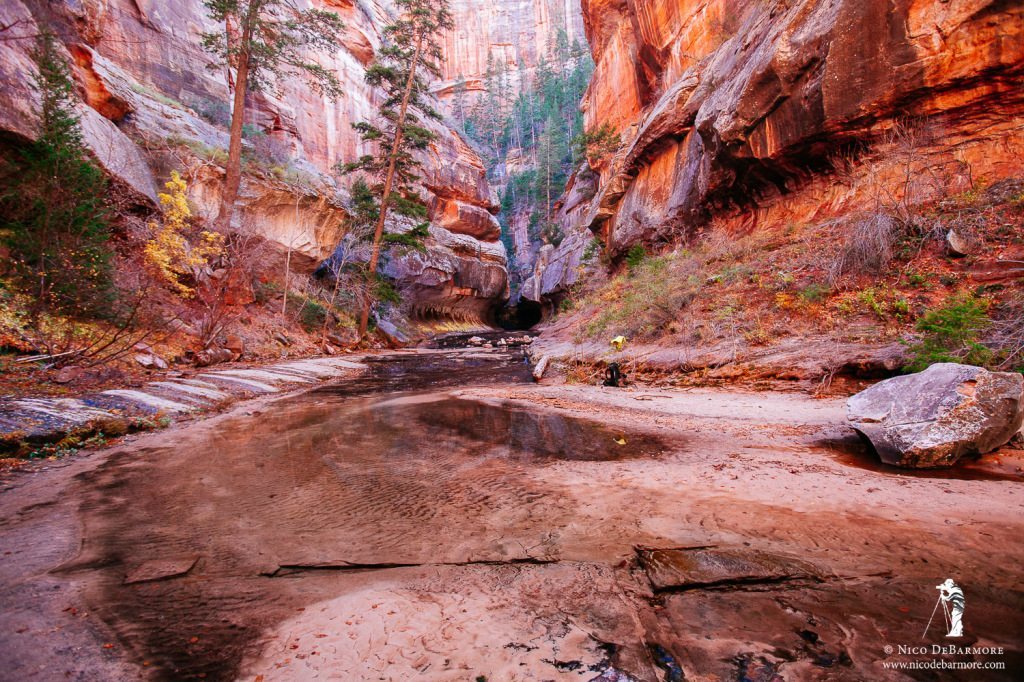
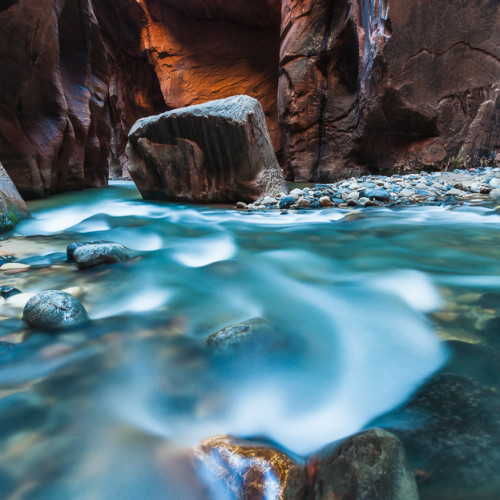
5. The Subway ~3.5 mi: Finally, the Subway. Not more than perhaps 100 yards from the Crack is the Subway. You turn the corner and here’s the view…
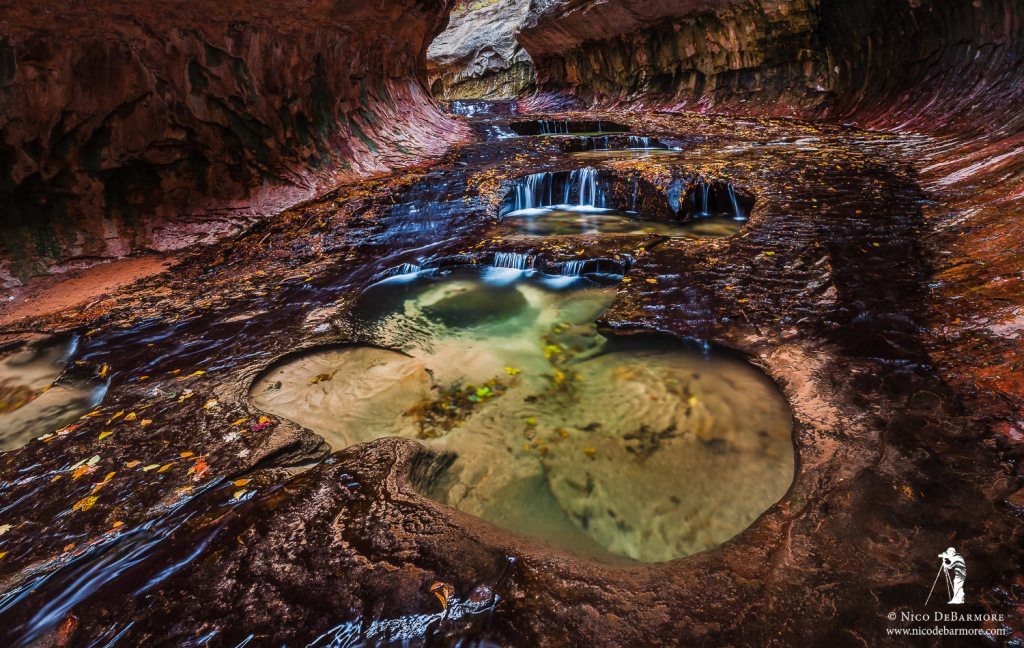
Then you get a bit closer, and you see a really cool set of cascading pools, like this…
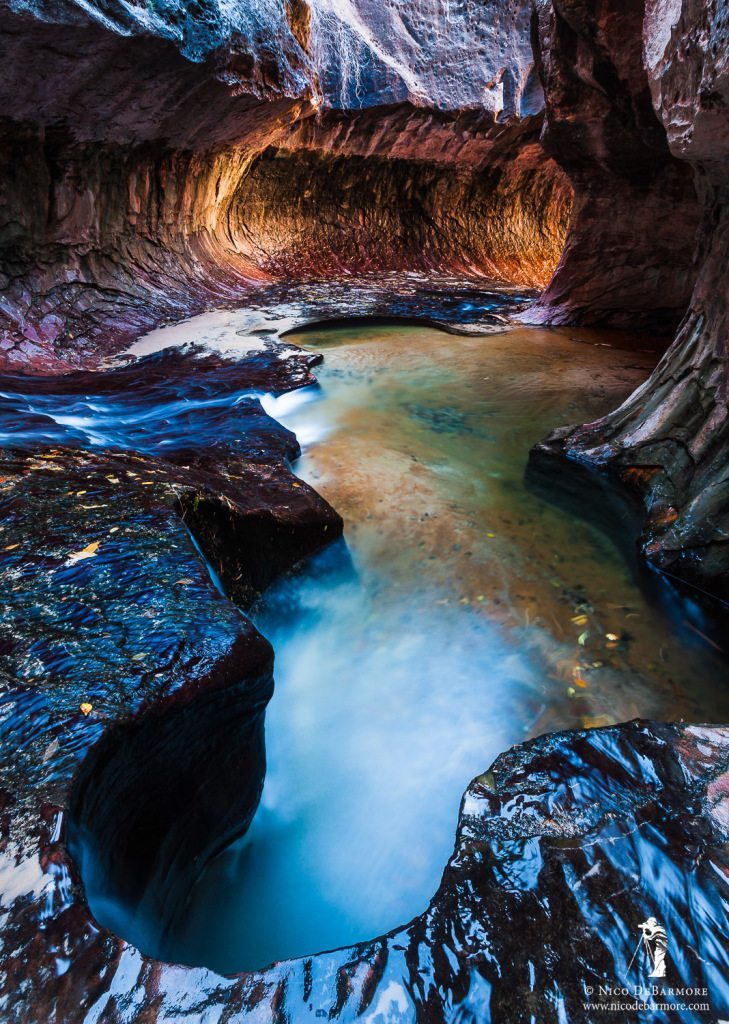
Keep walking, and you get to the main pool. When you turn around you’ll see the classic Subway shot – can’t miss it. What I find most interesting AND challenging AND frustrating AND rewarding about the Subway is that its nature changes every year. Each year, flash floods remove sand, or deposit sand, or logs, and drastically change the look of the Subway. Here are two images, the left is from 2013, the right from 2014. I think that the major flooding from September may have scooped some of the sand out of the main pool, making it a touch deeper and just a little bit bluer.
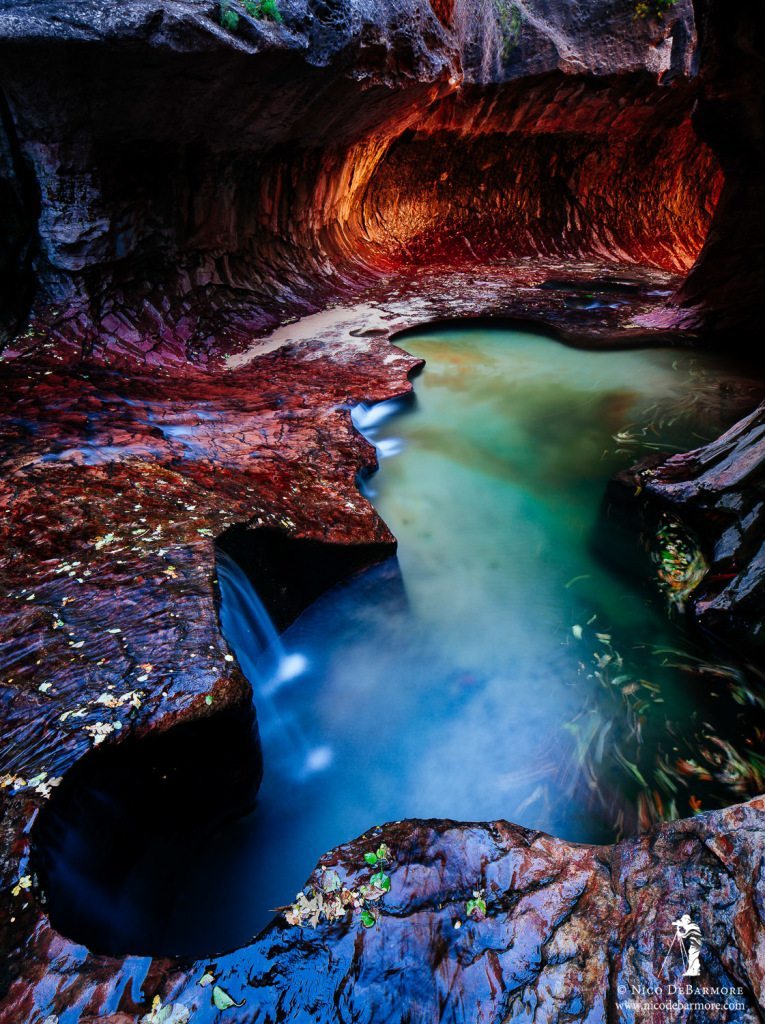
We’ve all seen that classic shot and composition, but I also like what is beyond. Walking just a couple steps further I found this composition…
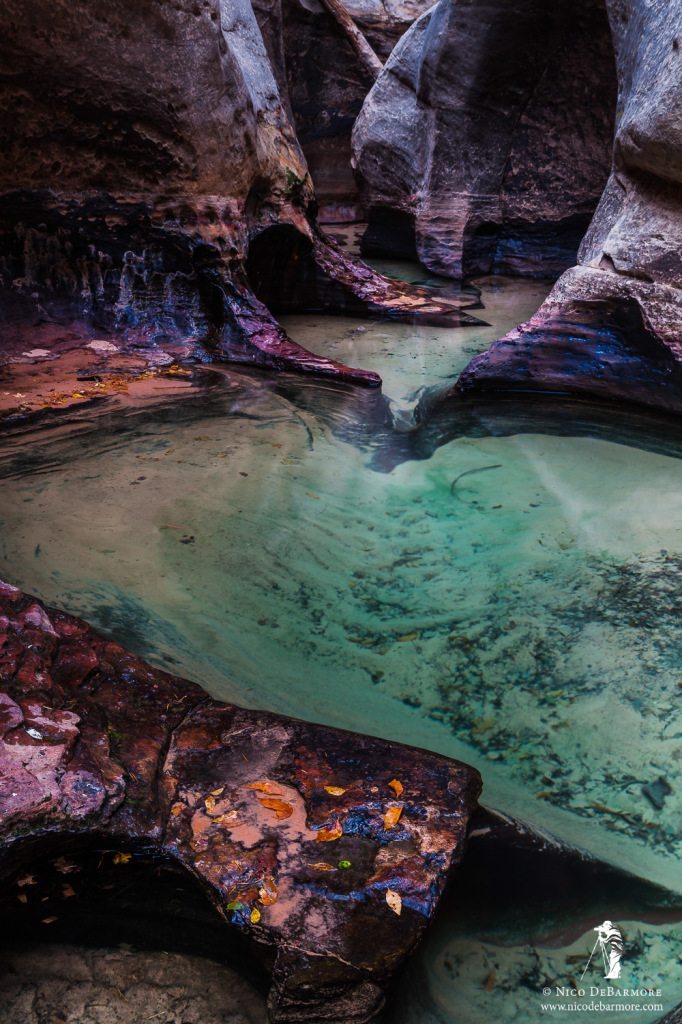
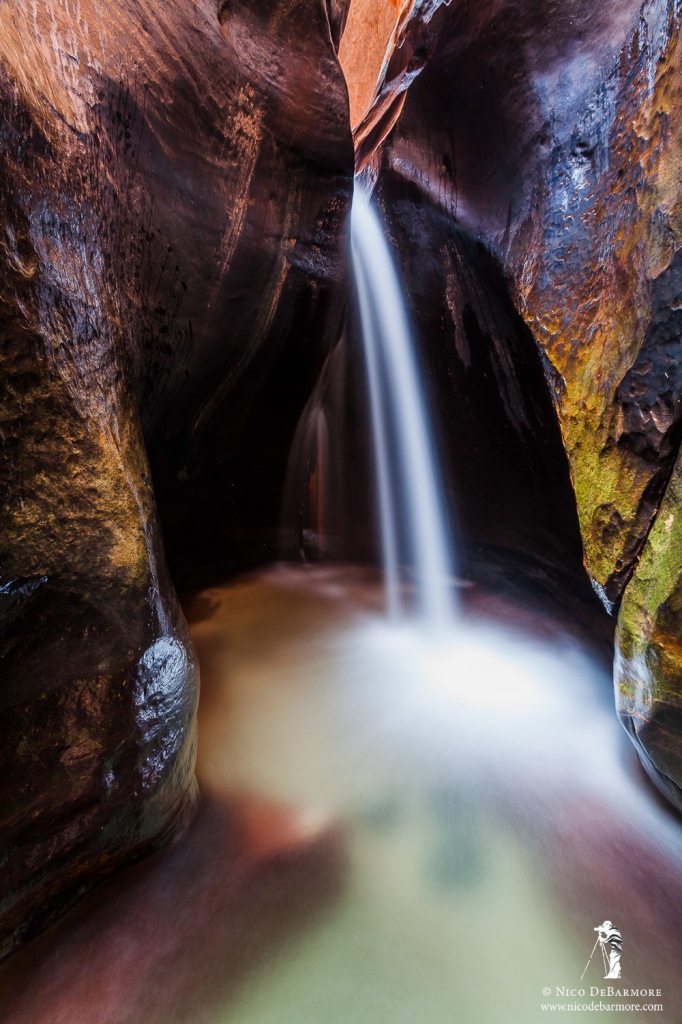
There are a series of pools, some of which are quite deep, that lead back to a waterfall chamber…
I hope you found this guide to be at least somewhat useful. I know there are tons out there just like it, but at least I gave it my own twist, and photos of course. If you are newer to photography, you might find some of these posts of particular interest. And if you don’t know much about photographing water, make sure you read those posts!


Leave a reply