
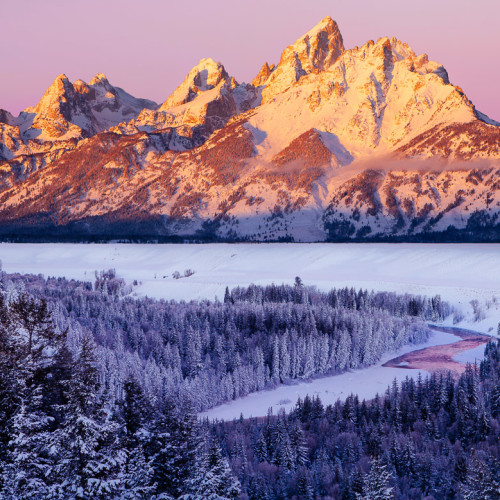
A couple weeks ago a friend and I hopped in a Cessna 172SP and flew down to Bryce Canyon National Park. The primary focus was just to fly and enjoy the day; the weather was perfect, with clear blue skies and temperatures in the upper forties. It was a great flight – we headed out through Weber Canyon, zig-zagging with the highway, and then headed south, flying over Heber City and the snowy mountains below. Timpanogos was recognizable on our right, and looked pretty cool as we flew by at the same altitude as the summit. The rest of the flight was basically a beeline for Bryce Canyon airport, though we did have a little diversion over the south side of the Aquarius Plateau, flying right under the light clouds that were forming in Class G airspace. The whole flight down was very scenic – no major roads really – just small towns and really cool volcanic cliffs off to the West.
Flying south past Heber City at 11,000 ft MSL
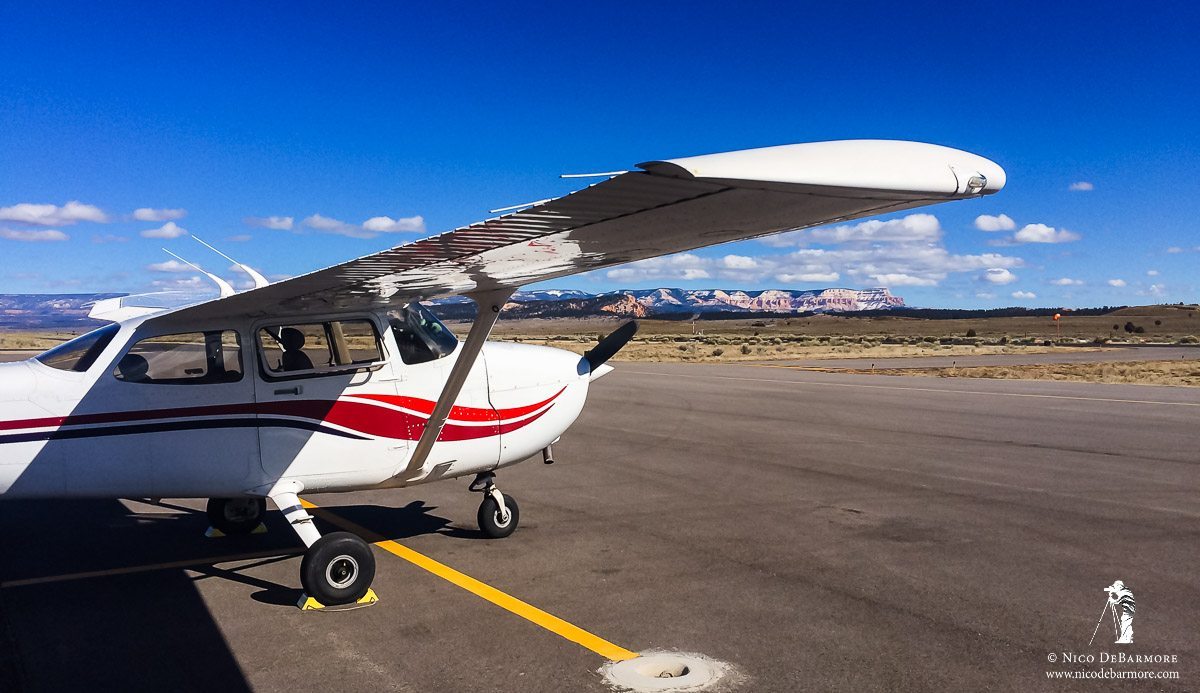
At Bryce Canyon airport
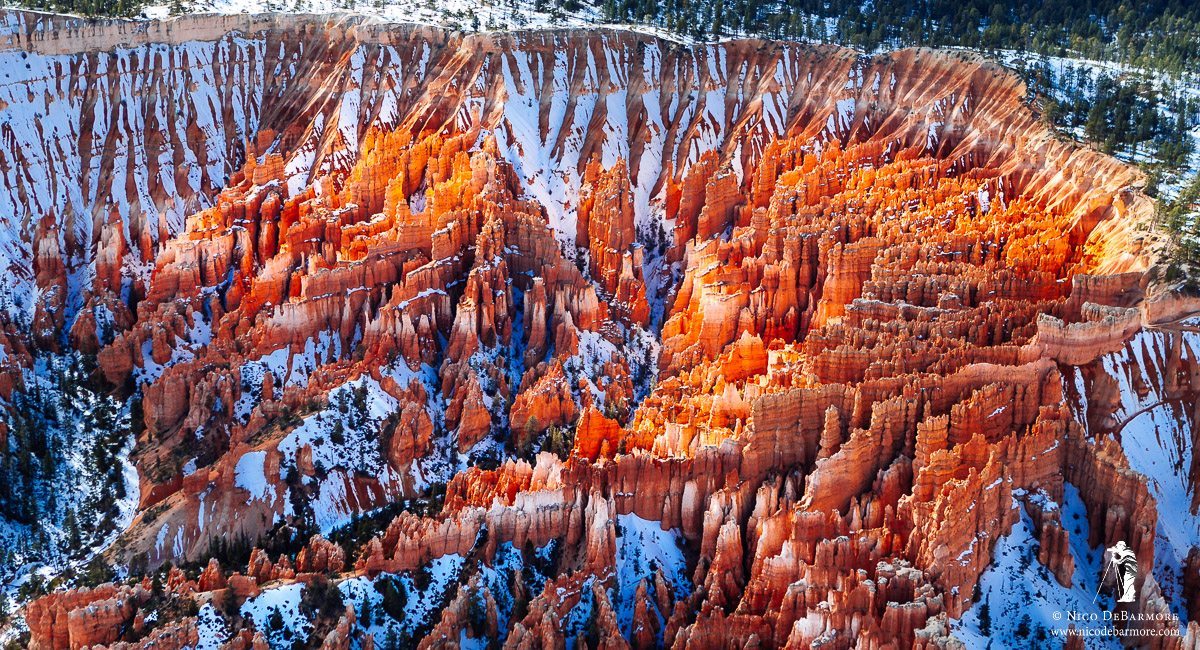
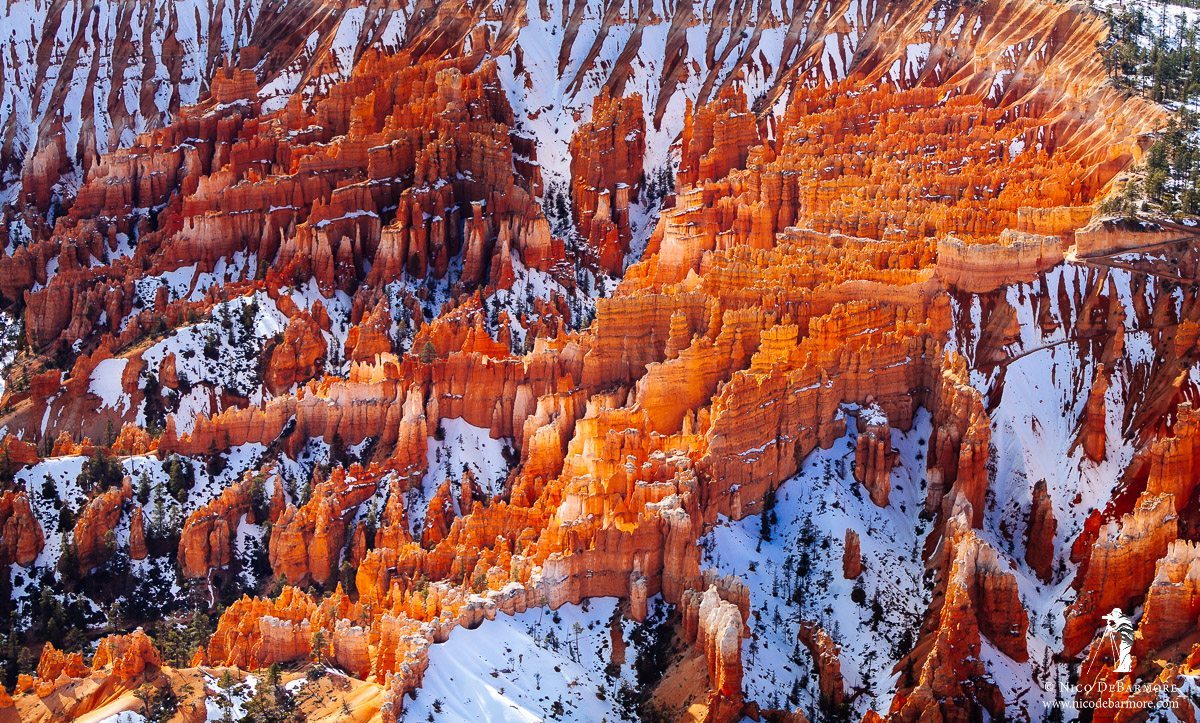
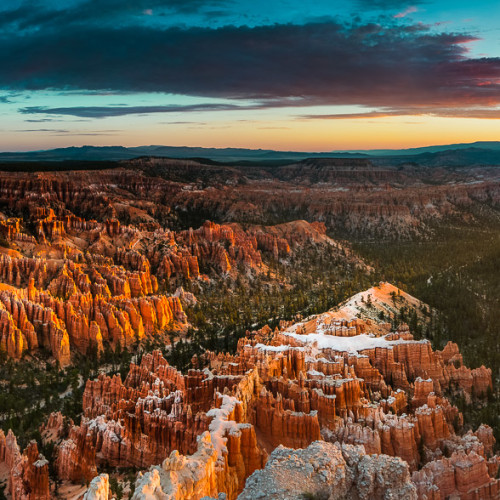
I couldn’t resist the temptation to bring my camera, and since my friend was also a pilot I felt comfortable letting him take the controls while I tried my hand at some aerial photography. This was a first for me, and I learned a lot in the short 15 to 20 minutes we spent flying over the national park. I was hoping to get some great images of the hoodoos in winter, jutting out orange against a snowy landscape. In this post, I’ll share some things that I learned from my first go at aerial photography, and some of my favorite images from the trip.
Lens Choice
I started with my 24-70mm f/2.8 for our first pass at the main Bryce Canyon amphitheater. I quickly found that at our altitude, this was a bit too wide. For our second pass I switched to a 70-200mm f/2.8 telephoto lens that allowed me to capture the general area @ 70mm, and intimate compositions @ 200mm. Lens choice is really going to depend on what type of photos you’re after, and what altitude you’re flying at.
Flying over national parks requires a judgement call. There are no explicit rules regarding flying altitude over Bryce Canyon National Park, but it is requested that pilots maintain 2,000 above ground level (AGL). Maintaining that spacing ensures that the flight doesn’t disturb the wildlife in the park, as well as those people who are in the park to enjoy some quiet time with nature. On the flip side, flying at a lower altitude does change the composition of the photograph, and may be beneficial. While we didn’t always stay strictly 2,000 ft AGL, we didn’t get too close either. We also flew very slowly at a low RPM which really decreases the noise of the aircraft. My thought was that since there are aerial photography tours of the area which go below 2,000 AGL, it wouldn’t be the end of the world if we dipped to 1,500 AGL for a couple minutes.
Haze
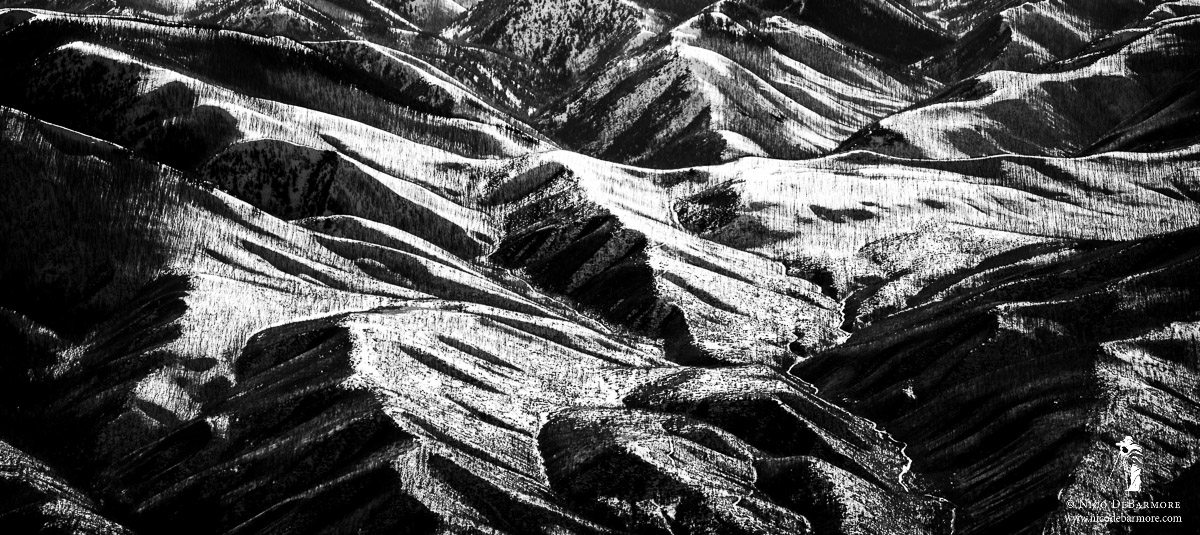
As you might imagine, it is best to fly on a clear day, both from a flying perspective and from a photography perspective. However, even on the bluest of bluebird days there can be relatively low visibility due to haze. Even far away from the city in the fresh clean air, haze can happen, and it wreaks havoc on image contrast. In the image below I captured the interesting shadows in the folds of some rolling hills. Haze gave the image a dull, bluish tint. I couldn’t really “rescue” the image, as it also was not sharp enough, due to either haze of motion blur. I did my best in post-processing to really emphasize contrast and shadows of the piece and convert to black & white, creating somewhat of an abstract landscape image.
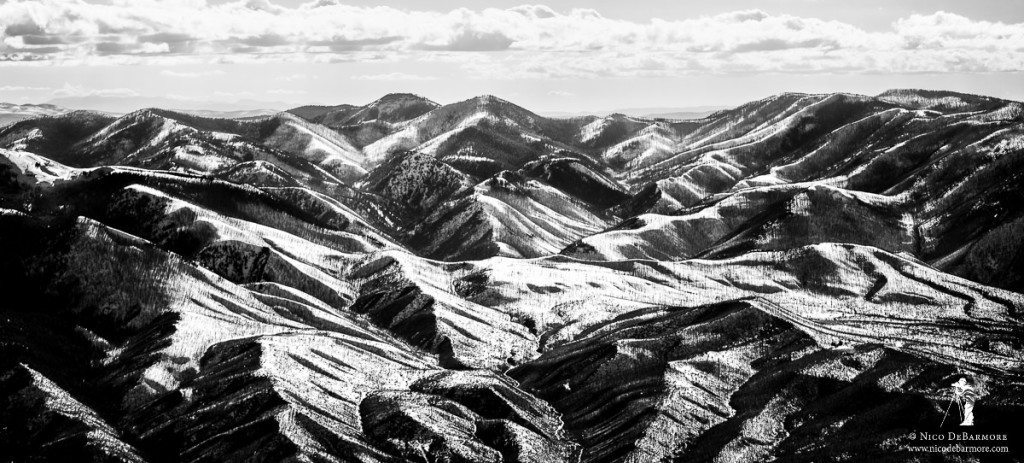
I like the following image even more, because it isolates the shapes and shadows of the landscapes and creates even more abstraction by removing the horizon.
Shutter Speed
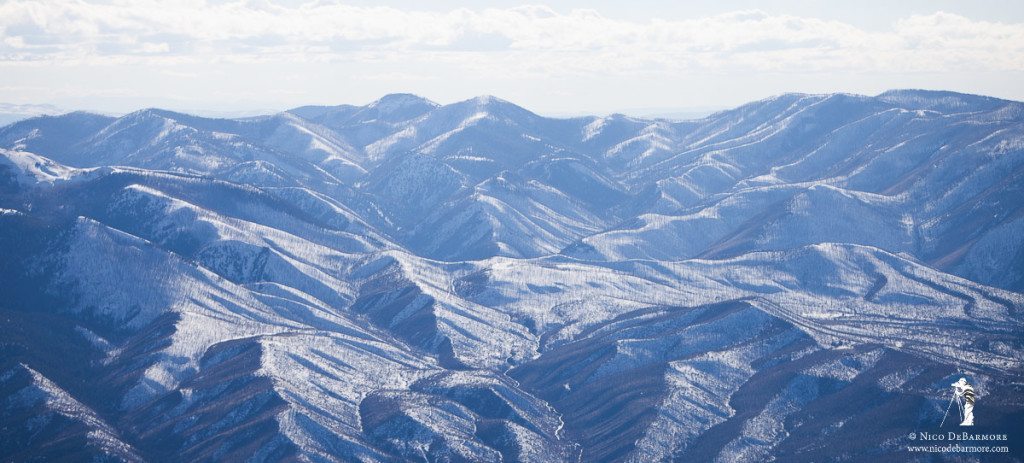
A fast shutter speed is paramount in aerial photography – this is a lesson that I have learned the hard way, despite already knowing that it would be an issue before I had my go at photographing Bryce Canyon from the sky. Shutter speed is so important here because not only are you moving through the air at 70 mph, but the plane is also vibrating quite a bit and the wind is really blowing on the lens and camera. Some of these issues are mitigated by shooting from a helicopter, but the reality is you’ve still got loads of movement. The following shot was taken at 1/1250 sec, f/2.8, ISO 100 @ 40mm, auto-focused to the nearby cliffs. Even though my aperture is f/2.8, I’ve got a huge depth of field, stretching from ~60ft away from the plane to infinity, because my subject is already so distant; thus I know the lack of sharpness here is not due to a focusing error. The lower left corner is especially blurred, which is unfortunate because I sort of liked this photo.
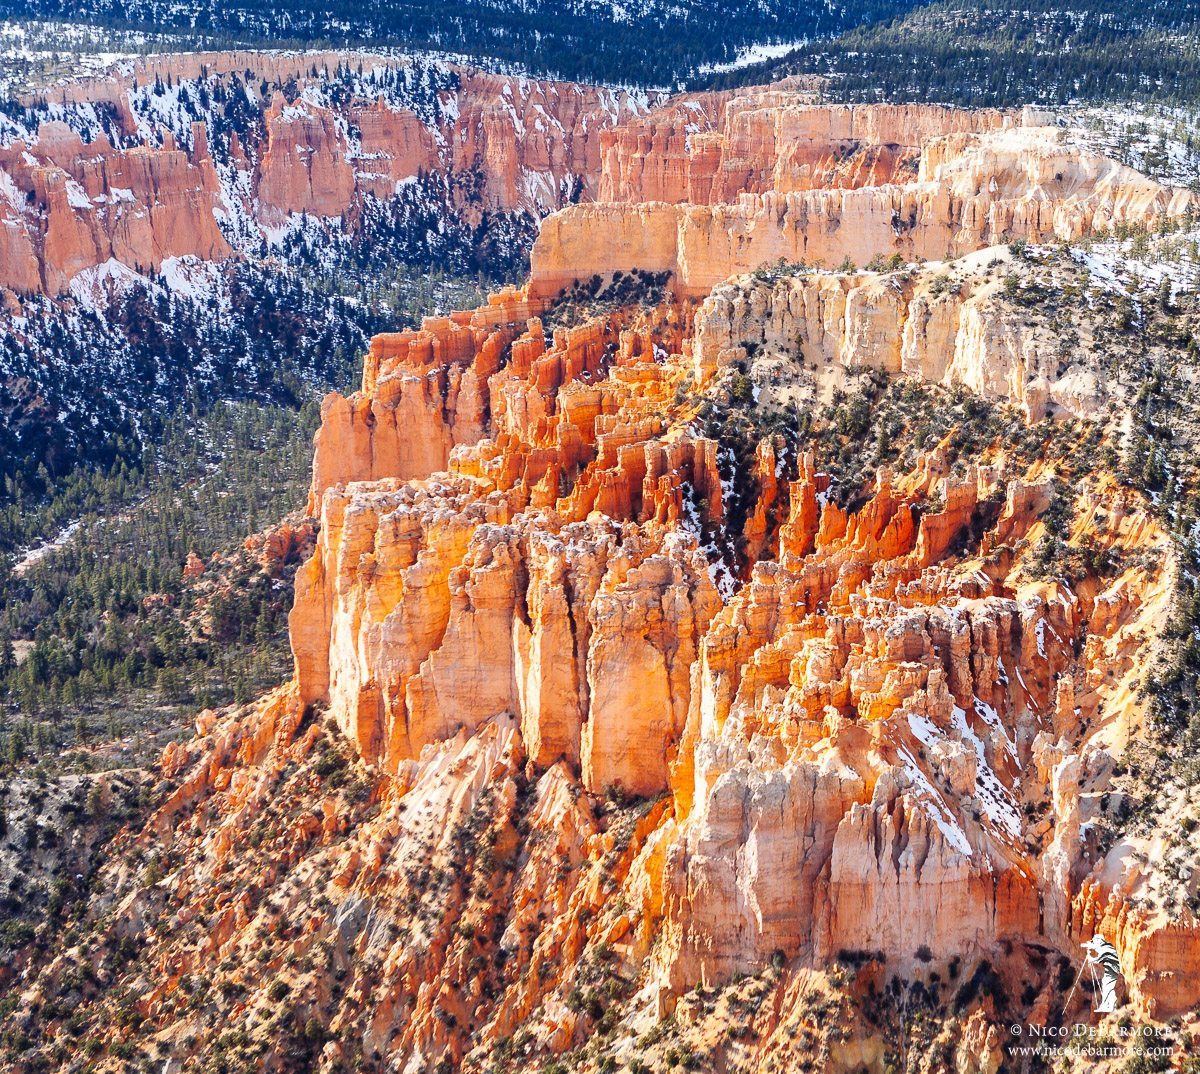
I set my camera to f/2.8 and ISO 100, assuming that since it was a sunny day my shutter speed would be set automatically to somewhere around 1/1000 sec and that would minimize blur. In the future I think I will shift to shutter priority and allow the camera to bump ISO when required.
Airspeed & Pilot Skills
If you’re heading out to shoot aerials with a tour company you won’t need to worry about pilot skills – those guys are professional and they do this sort of thing every day. But if you are going about it DIY-fashion like myself, a little planning and discussion among pilots can go a long ways. For my shoot over Bryce Canyon I had a skilled co-pilot. I was able to hand over controls to him and then focus solely on the photography. He was in turn able to focus on putting me in the best place possible, by both rolling and yawing the aircraft, as well as slowing down from ~120 mph to 70 mph. If I were to attempt this with a friend who had never flown in the co-pilot seat, it would not have gone well. You really need to have someone who knows how to fly the plane in the right seat, as holding an airspeed AND and altitude is difficult for a beginner.
In summary, aerial photography take landscape photography to another level both literally and figuratively. Compositions materialize that couldn’t even have been conceived from the ground level, and the possibilities keep expanding with every flight. If you haven’t given aerial photography a try, I urge you to go somewhere beautiful and just go up for even as short as half an hour. You may be surprised with what you find up there. Just make sure you’ve got a super fast shutter speed!
Leave a reply